
 Custom bag partner
Answer first
Choose the Path for the Actual Buckle
A ladderlock has inner bars and a tab or toothed side that grips an adjustable tail. A two-slot adjustable side-release clip has separate male and female halves; in the example below, only the male half adjusts. If the male half has no pair of webbing slots, do not follow that path. A three-bar slider, cam buckle or ratchet is another assembly altogether.
The two route maps below are original, simplified reading aids for the linked source examples. They are not cut patterns, universal hardware drawings or load certifications. Place your actual buckle with its correct face upward before threading.
Type 1 · ladderlock with tab and toothed bar
Thread the Fixed Loop and Adjustable Tail Separately
In Sailrite's ladderlock PDF, both webbing portions come up from below through the same gap between the two inner bars. The left loop is sewn permanently; the right portion adjusts around the toothed bar next to the lift tab. This distinction matters more than memorizing “in one slot, out the other.”
Working pull direction in the first diagram: outward from the buckle along the attached fixed and adjustable strap lengths. The loose tail is for adjustment; the tab is lifted to release.
- Face the buckle so the toothed bar and lift tab are on the adjustable side.
- Bring the fixed webbing up from underneath through the common center gap, loop it around the left bar and sew the returned webbing to itself.
- Bring the other webbing up through that same center gap from underneath, take it around the toothed tab-side bar and leave an adjustable tail.
- Pull the attached lengths away from the buckle to check grip; lift the tab only to release tension and readjust.
Type 2 · adjustable side-release clip
Route the Male Half Across Its Raised Center Bar
Sacotin's adjustable-clip tutorial starts with one end of the strap already sewn to the bag. The adjustable male half has two webbing openings and a ribbed center bar raised on its front/right face. The female half is a separate fixed sewn loop. Check that your hardware matches that description before using this route.
Working pull direction in the second diagram: hold the strap on the back at the sewn bag end and pull the male clip outward toward its fork. The returned loose tail is the adjustment end, not the fixed female loop.
- Identify the male half with two webbing slots; face its raised or ribbed center bar toward you and verify which side clips into the female half.
- From the strap already sewn to the bag, feed the free end through the slot nearest the fork, from back/wrong side to front/right side.
- Take the tail over the raised center bar and down through the second slot, so it returns to the back.
- Make the female half's separate webbing loop fixed by folding it back and sewing it as specified for that bag. Do not call that half adjustable in this example.
Before a bag is used
Check Locking in the Working Direction
For the adjustable clip, Sacotin checks the route by holding the strap at the back and pulling the buckle; if the webbing slips, the orientation is wrong and the route should be redone. For a ladderlock, tension on the attached straps should hold the adjustable side, while lifting its tab releases it. These are assembly checks, not proof of a rated load.
We can help identify the hardware if you send a clear photo of both faces, the bag attachment and the free end. If the buckle is a different type, these diagrams are not instructions for it. The webbing guide and hardware brief cover width compatibility and sample approval beyond routing.
A useful message to send: “This is the front and back of my two-slot buckle, with the fixed bag end marked. Could you confirm the exact model and show the webbing path on a sample before we approve the strap?”
Identify, do not assume
This Catalog Slider Is a Different Hardware Example
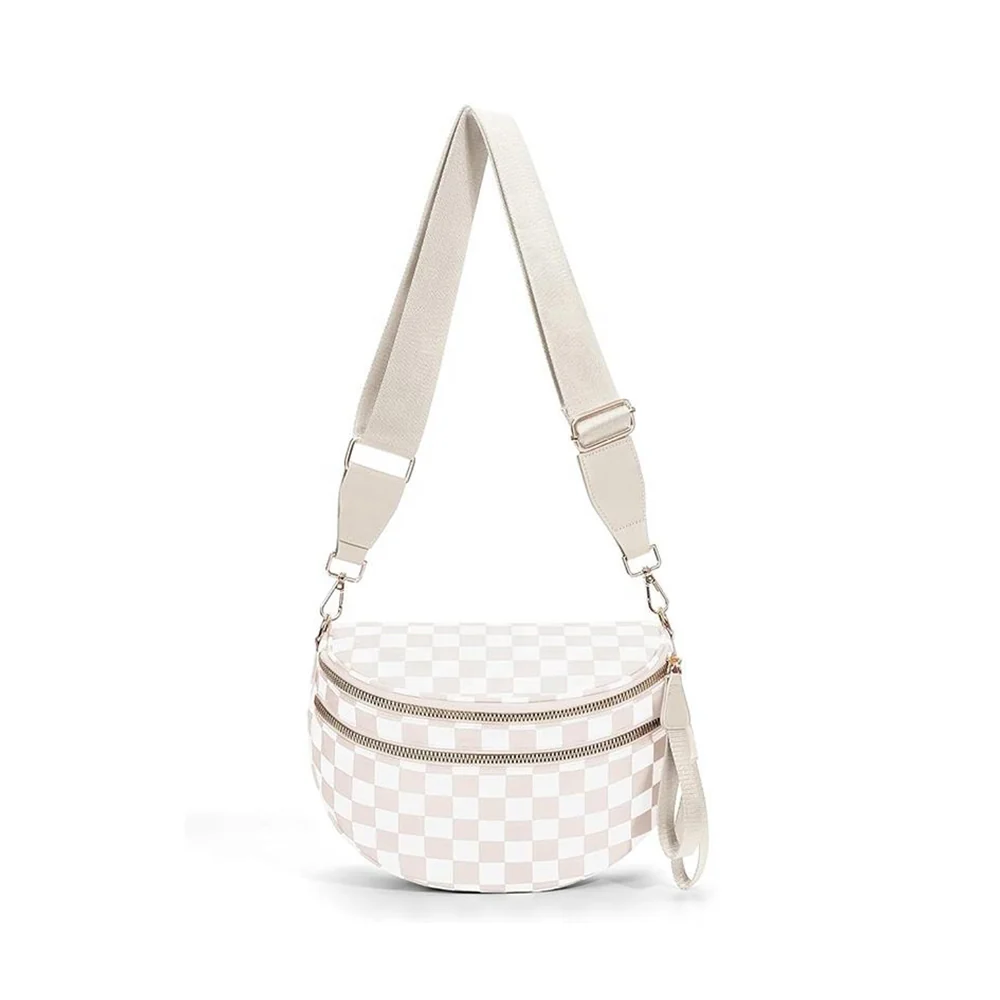
AltusPack catalog style · AP-R4-046
Checkerboard Crossbody Bag Catalog Style
What the photo shows: A strap slider, clips and a small bag.
How to use this example: Compare the hardware silhouette before choosing an instruction. The visible slider is not verified as either the Sailrite ladderlock or the Sacotin two-slot clip.
Evidence limit: A product photo does not show the hidden webbing route, hardware specification or working-load rating.
Source and limits
Two Paths, Two Hardware Types
Sailrite's ladderlock page and its original PDF distinguish the permanent left loop, adjustable toothed/tab side and shared entry gap. Sacotin's adjustable-clip tutorial gives the two-slot male path and a separate fixed female loop. The simplified route diagrams are AltusPack originals, not reproductions of source photos. Neither source covers every buckle or verifies this catalog SKU's assembly.