
 Custom bag partner
Answer first
Specify the Opening Route Before Naming a Zipper
Start with where the zipper begins and ends on the bag, what must pass through the opening, and how the slider is expected to travel. Then attach the proposed component details to that route and check them on the actual sample.
Ann Saunders' zipper checks put length, route, tape, teeth, slider and stops into the same review. They are prompts for a buyer brief and sample review, not a universal grade, rating, or service-life prediction. The existing trims and hardware guide introduces pulls and general trim planning; this page keeps the zipper specification together.
Name the visible parts
Use a Simple Part Map, Then Confirm the Actual Component
The tape carries the teeth or elements; the slider joins or separates them; the pull tab is the hand-operated part; stops limit travel. The same terms help a buyer mark what needs review, but they do not identify a supplier, material, size, or performance level.
Before sampling
Put These Six Fields in the Zipper Brief
- Opening route and zipper length: mark start, end, curves, corners and the usable opening on the bag drawing.
- Opening purpose: describe the contents, expected access and carry condition to try on the sample.
- Construction proposal: request the supplier's component reference and the proposed tape, teeth or element, slider, pull and stop arrangement.
- Placement and orientation: mark the slider direction, pull position and any point where it reaches a corner, seam or adjacent panel.
- Sample operation check: open and close the proposed zipper in the stated condition; record catching, misalignment, unwanted opening, rubbing, sharp edges, tape distortion or visible damage.
- Acceptance evidence: agree the project-specific approval notes and any required test method separately. A smooth first operation is not a service-life result.
A useful message to send: “Please show the proposed zipper reference, its route and length on the filled bag sample. We need to check slider direction, opening access, tape, teeth, pull and stops before we approve the component.”
For a broader review of the physical sample, see the prototype guide. Water, security, load, or life claims need their own defined construction and test method; this zipper brief does not establish them.
Apply the brief to a visible opening
Use This Backpack to Mark a Proposed Zipper Path
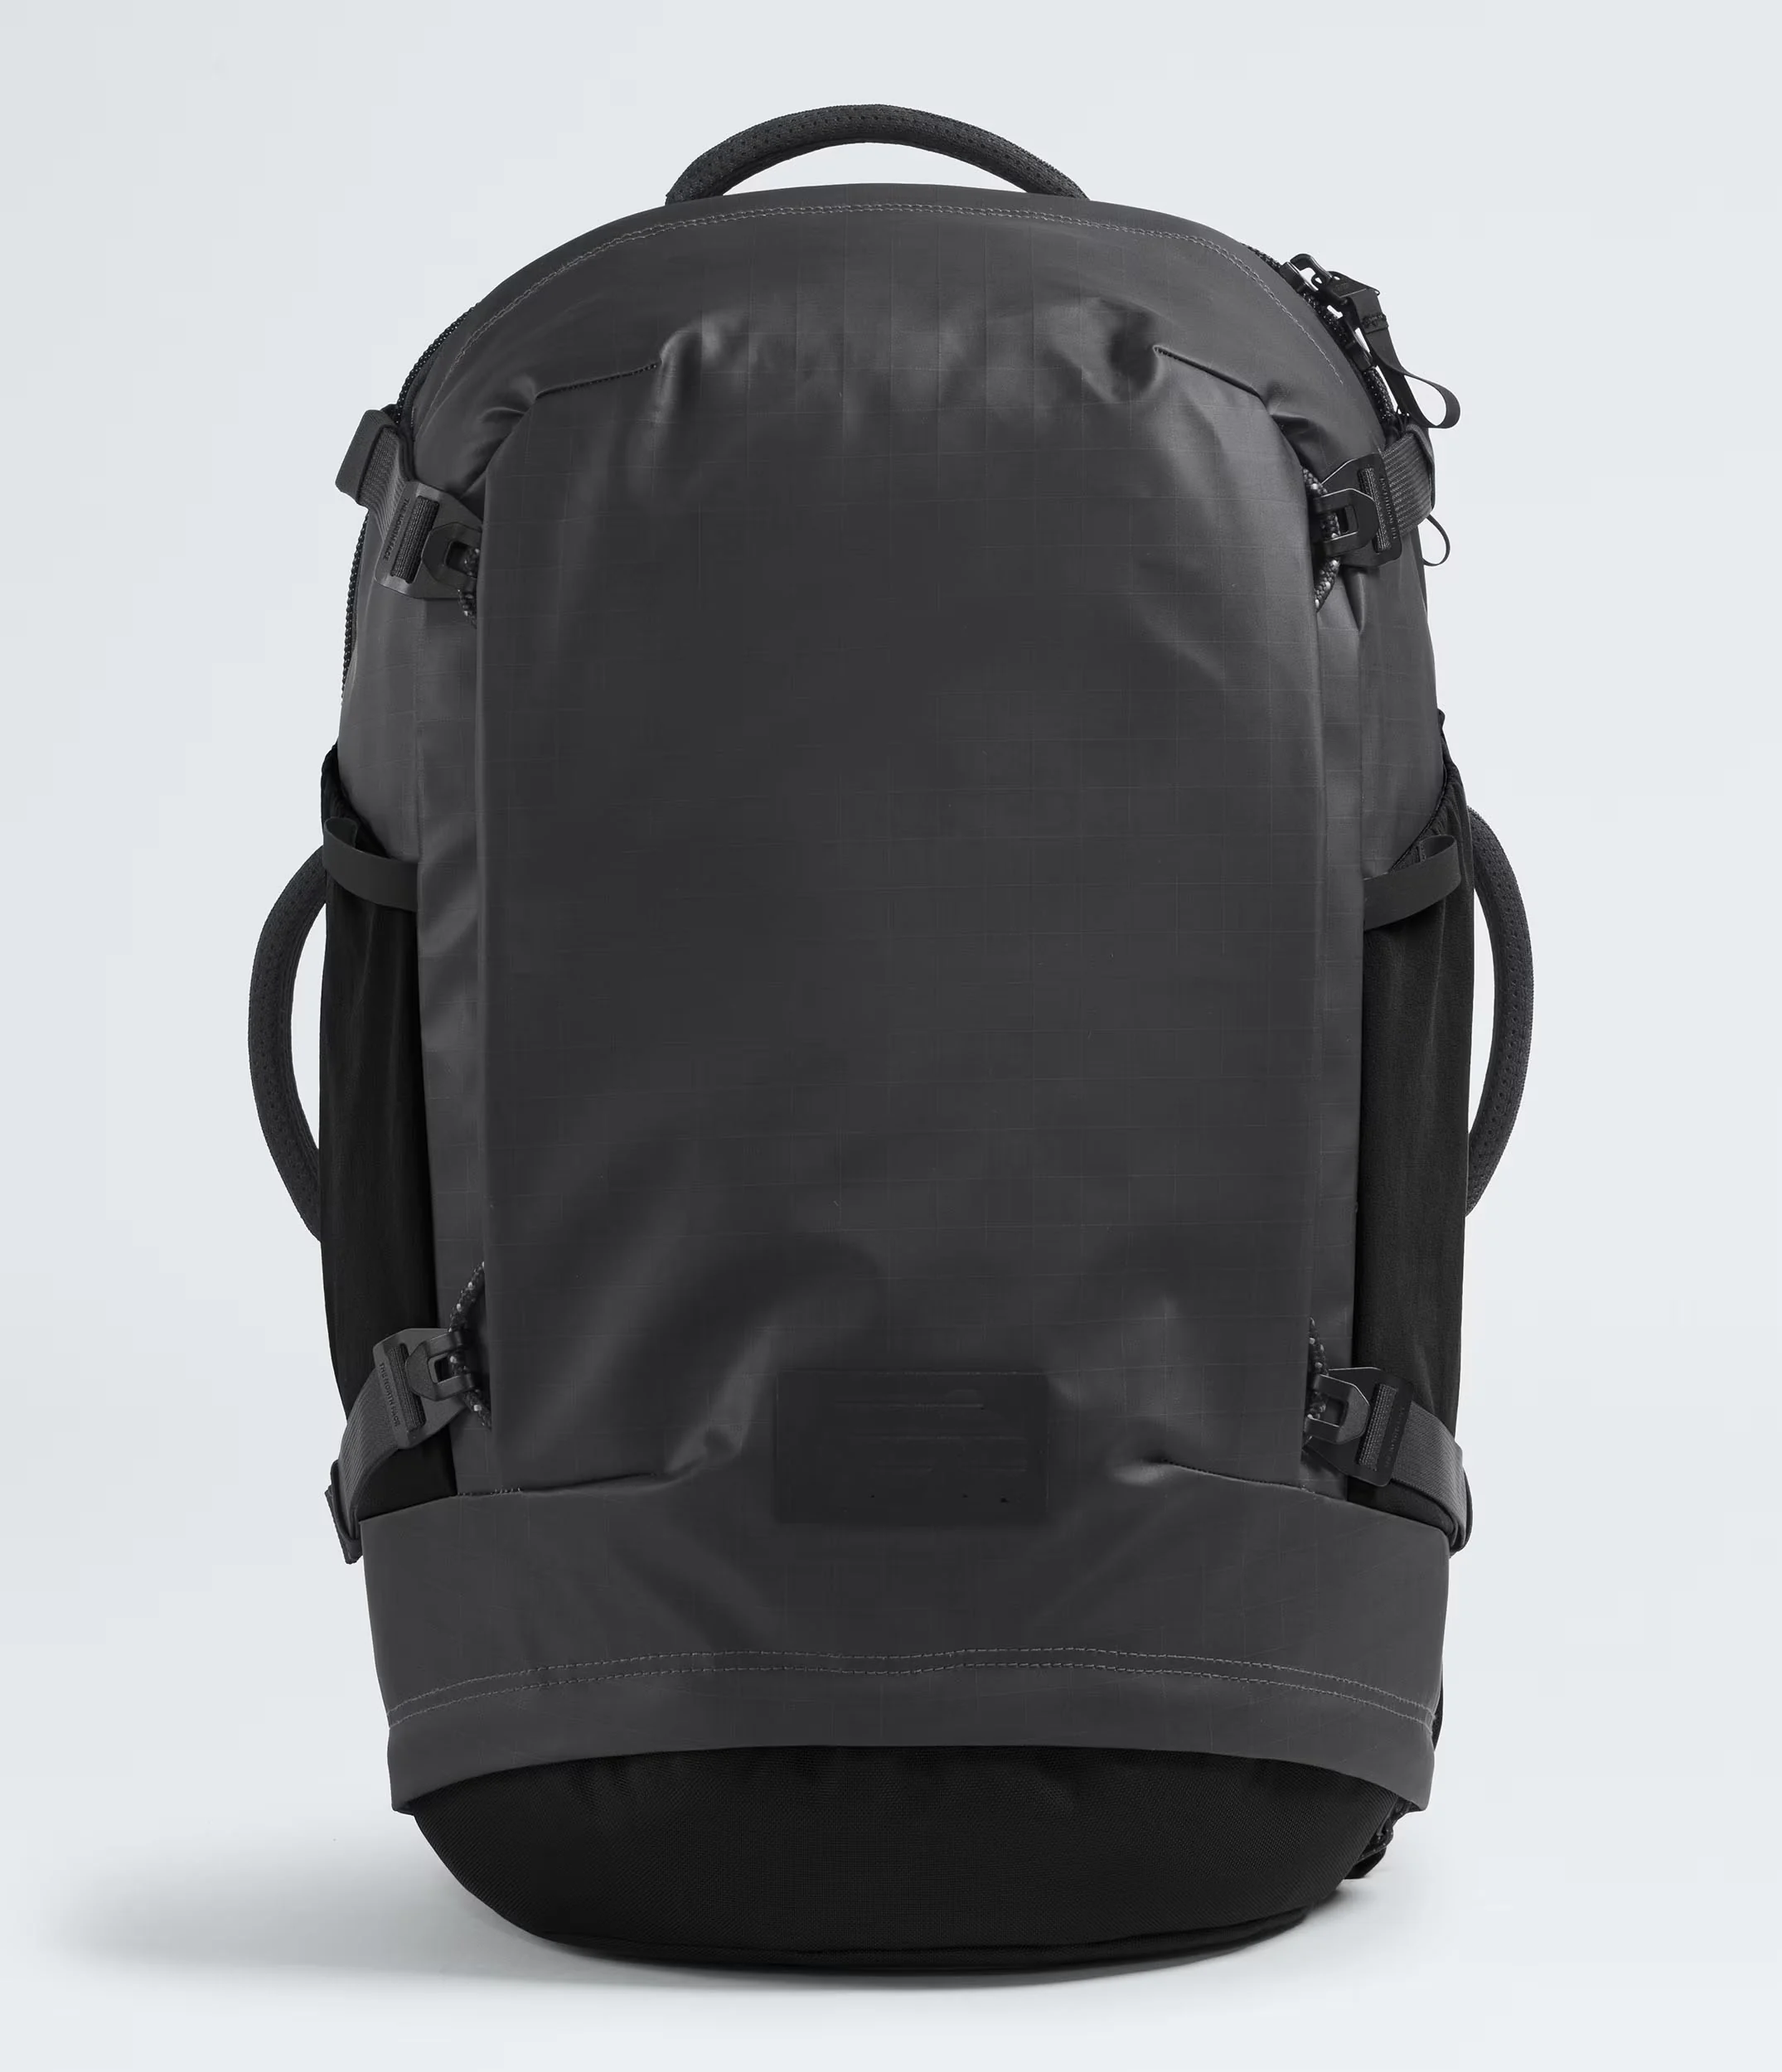
AltusPack catalog style · AP-R3-041
Custom Business Laptop Backpack with Multi-Pocket Layout
What the photo shows: A backpack front, a top handle and a visible zipper pull near the upper side.
How to use this example: Mark the opening you want to discuss, then request the actual zipper route and component reference on your sample.
Evidence limit: The photo does not identify the zipper brand, size, material, hidden path, construction, smoothness, load rating, lifecycle or test result.
Source and limits
What the Source Supports
Ann Saunders, Design, Manufacture and Sell Your Bag Collection (2024), PDF pp. 178-180, discusses closure use and zipper anatomy/quality checks, including length, path, tape, teeth, slider and stops. The six-field brief and diagram are AltusPack editorial tools that turn those checks into a procurement conversation. The source does not establish a universal zipper material, grade, size, failure rate, service life, waterproofness, security level, cost order or performance of an AltusPack product.